Schmidt Cassegrain Maintenance
After impatiently waiting a month for clear skies I finally got my 'new' Celestron Ultima 11" Schmidt Cassegrain out for a test run. I couldn't get tack sharp focus so I knew a collimation was in order and looking closely at the corrector plate I found some mold or mildew had built up on the inside of the glass. This was going to be a challenge but if I wanted amazing photos out of it I had to get it cleaned and properly aligned.
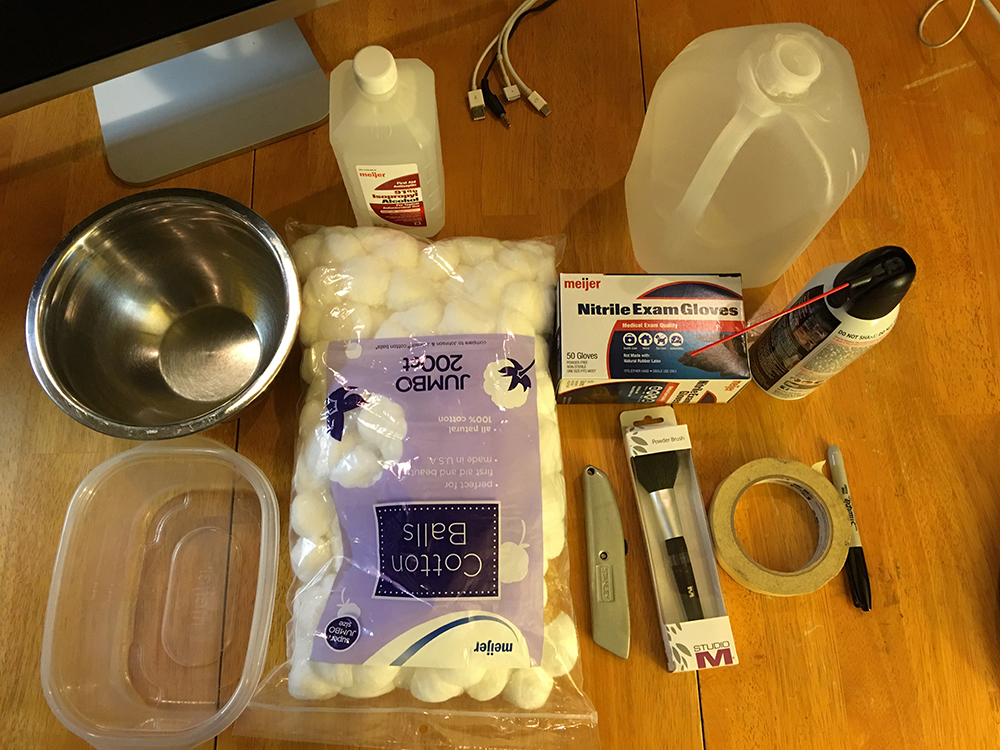
Watching a few videos online and reading quite a few forum threads, I decided to use a mixture of 60% Isopropyl Alcohol and 40% distilled water, with sterile cotton to dampen, clean, and dry the plate. I gathered my supplies, thoroughly cleaned my workspace, and got down to business.
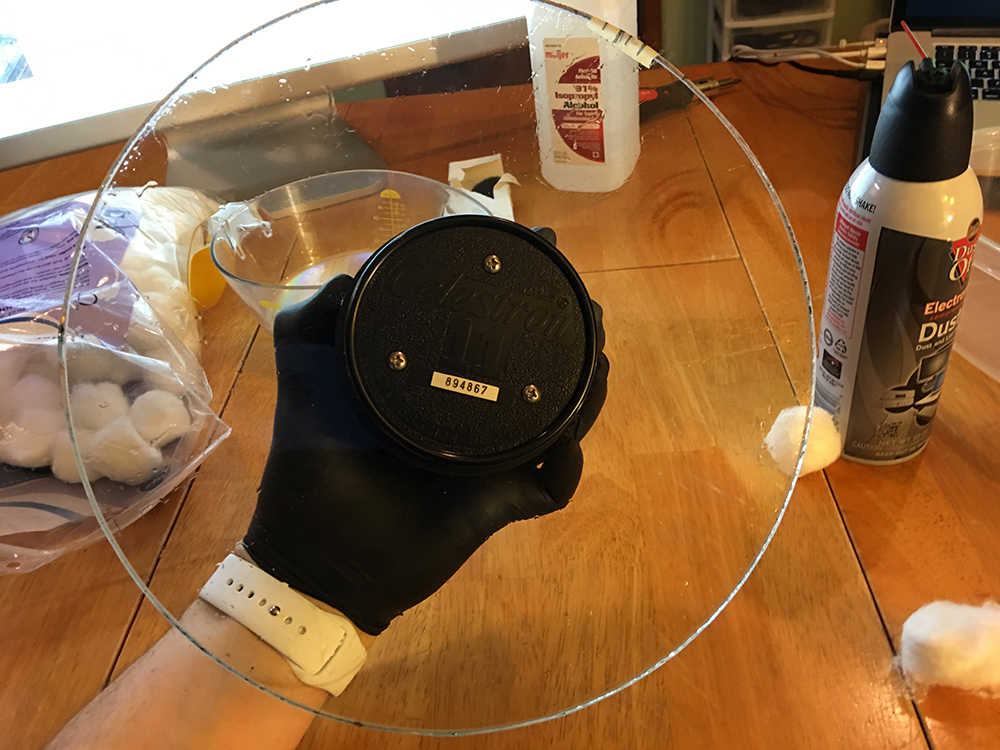
I needed to mark the position of both the retaining ring and the plate itself to ensure when reassembling everything went back to exactly where it was before. The easiest way to do this was to place two pieces of tape and mark them, slice them evenly during disassembly, then line them back up when putting the plate and ring back in. This was much more important for the corrector since it could go in at any angle, at least the ring was limited to it's screw holes.

I removed the retaining ring and marked the plate the same way, with one additional mark on the glass incase the tape came off. Once it was out I took a close look at the primary mirror and found it to be in great shape - I didn't want to have to touch that, so I gave it a few puffs of compressed air and then sealed the tube while I went to work cleaning the corrector.
The secondary mirror also looked perfect, so I started gently dabbing the corrector with distilled water and cotton swabs. Once it was thoroughly soaked I started dabbing with the cleaning solution, slowly spinning it as I worked my way around a few times, swapping out the cotton every so often (they are cheap, use a lot of them to avoid moving dirt around). Another round of dabbing with distilled water and I finally started dragging the swabs outward towards the edge, putting no pressure on them other than the weight of the swab itself, still slowly spinning after each swipe.
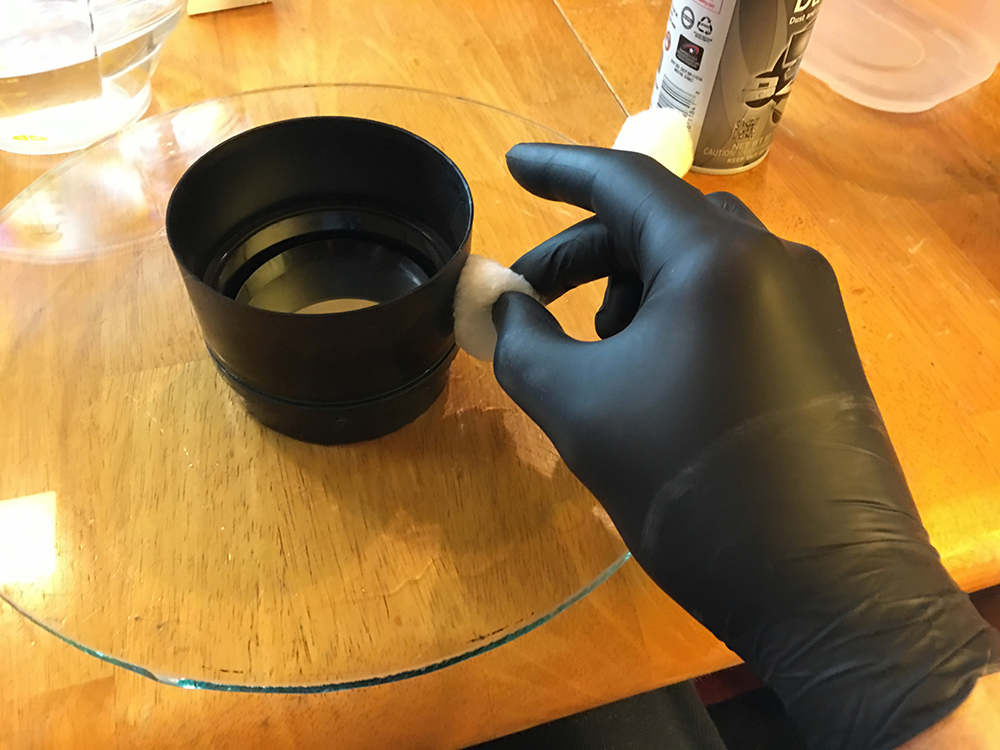
I would pick up the assembly and closely inspect it every so often to ensure things were going smoothly. It looked a hundred times better after one pass on each side, but I did another full water/solution/water cycle on both sides of the glass again. Once that was completed it was looking amazing. A few puffs of compressed air removed any cotton debris, a quick round with the camel hair brush, and it looked perfect.
Since I had the scope open and didn't want to have to do this again any time soon I took another look up close under the lights to make sure I got everything off. It still looked great, so I began reassembly. I gently slipped the plate back into the tube and lined it up with the tape marks, then tilted the scope upwards a little bit removing the chance of it falling out before I got the ring in. I removed the tape pieces and quickly did a mini cleaning where they were, even though it would be completely covered by the ring, I wanted everything as clean as it could be. Then I remounted the retainer ring and screwed it back in place, slowly working opposite screws until everything was back in place.
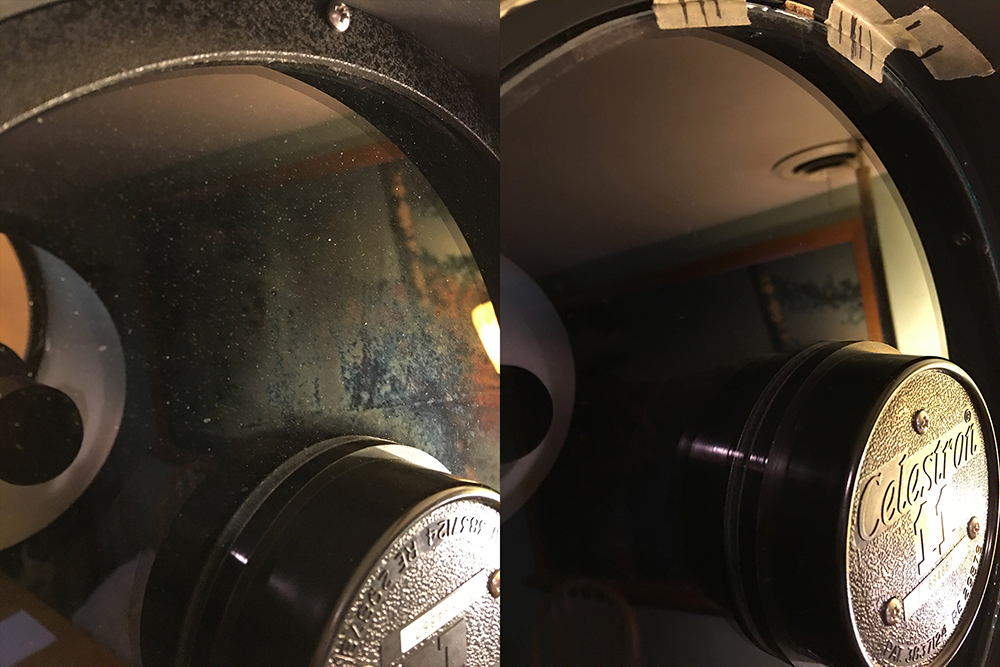
Honestly I was very nervous about the whole process, but being prepared with all the supplies needed, a good clean workspace with great lighting, and a written down and rehearsed plan made things go extremely well. Once everything was back in I tried to replicate the 'before' photo but the glass was so clean my iPhone couldn't focus on it. I'd say that was a job well done.
Next up is a new Celestron CGEM computerized mount to replace the simple clock driven fork mount, another good collimation, and I should be in really great shape.