Star Trails Test Run
Last week a number of people started messaging me on the 11th asking if I was going to go out that night and shoot the Perseid Meteor Shower which was forecasted to have the most activity in recent history. I hadn't planned on it but after humming and hawing for a minute I decided to get my gear together and head out - only to find a large storm front rolling in and the sky completely covered by clouds. Extremely disappointed I decided to try shooting a star trail as soon as it cleared up again. Despite it being a full moon a week later, I went back out. Let's take a look at my first attempt.
Most star trail photos aren't actually one photograph - they are a series of exposures stacked on top of each other and blended together. Before learning more about it I thought you would need specialized software or a lot of technical know-how to accomplish it, but as it turns out the process is dead simple and only requires Photoshop (there are specialty programs available as well). The benefit of it being a series of continuous exposures is that you are also treated with a nice time-lapse if you shoot for long enough.
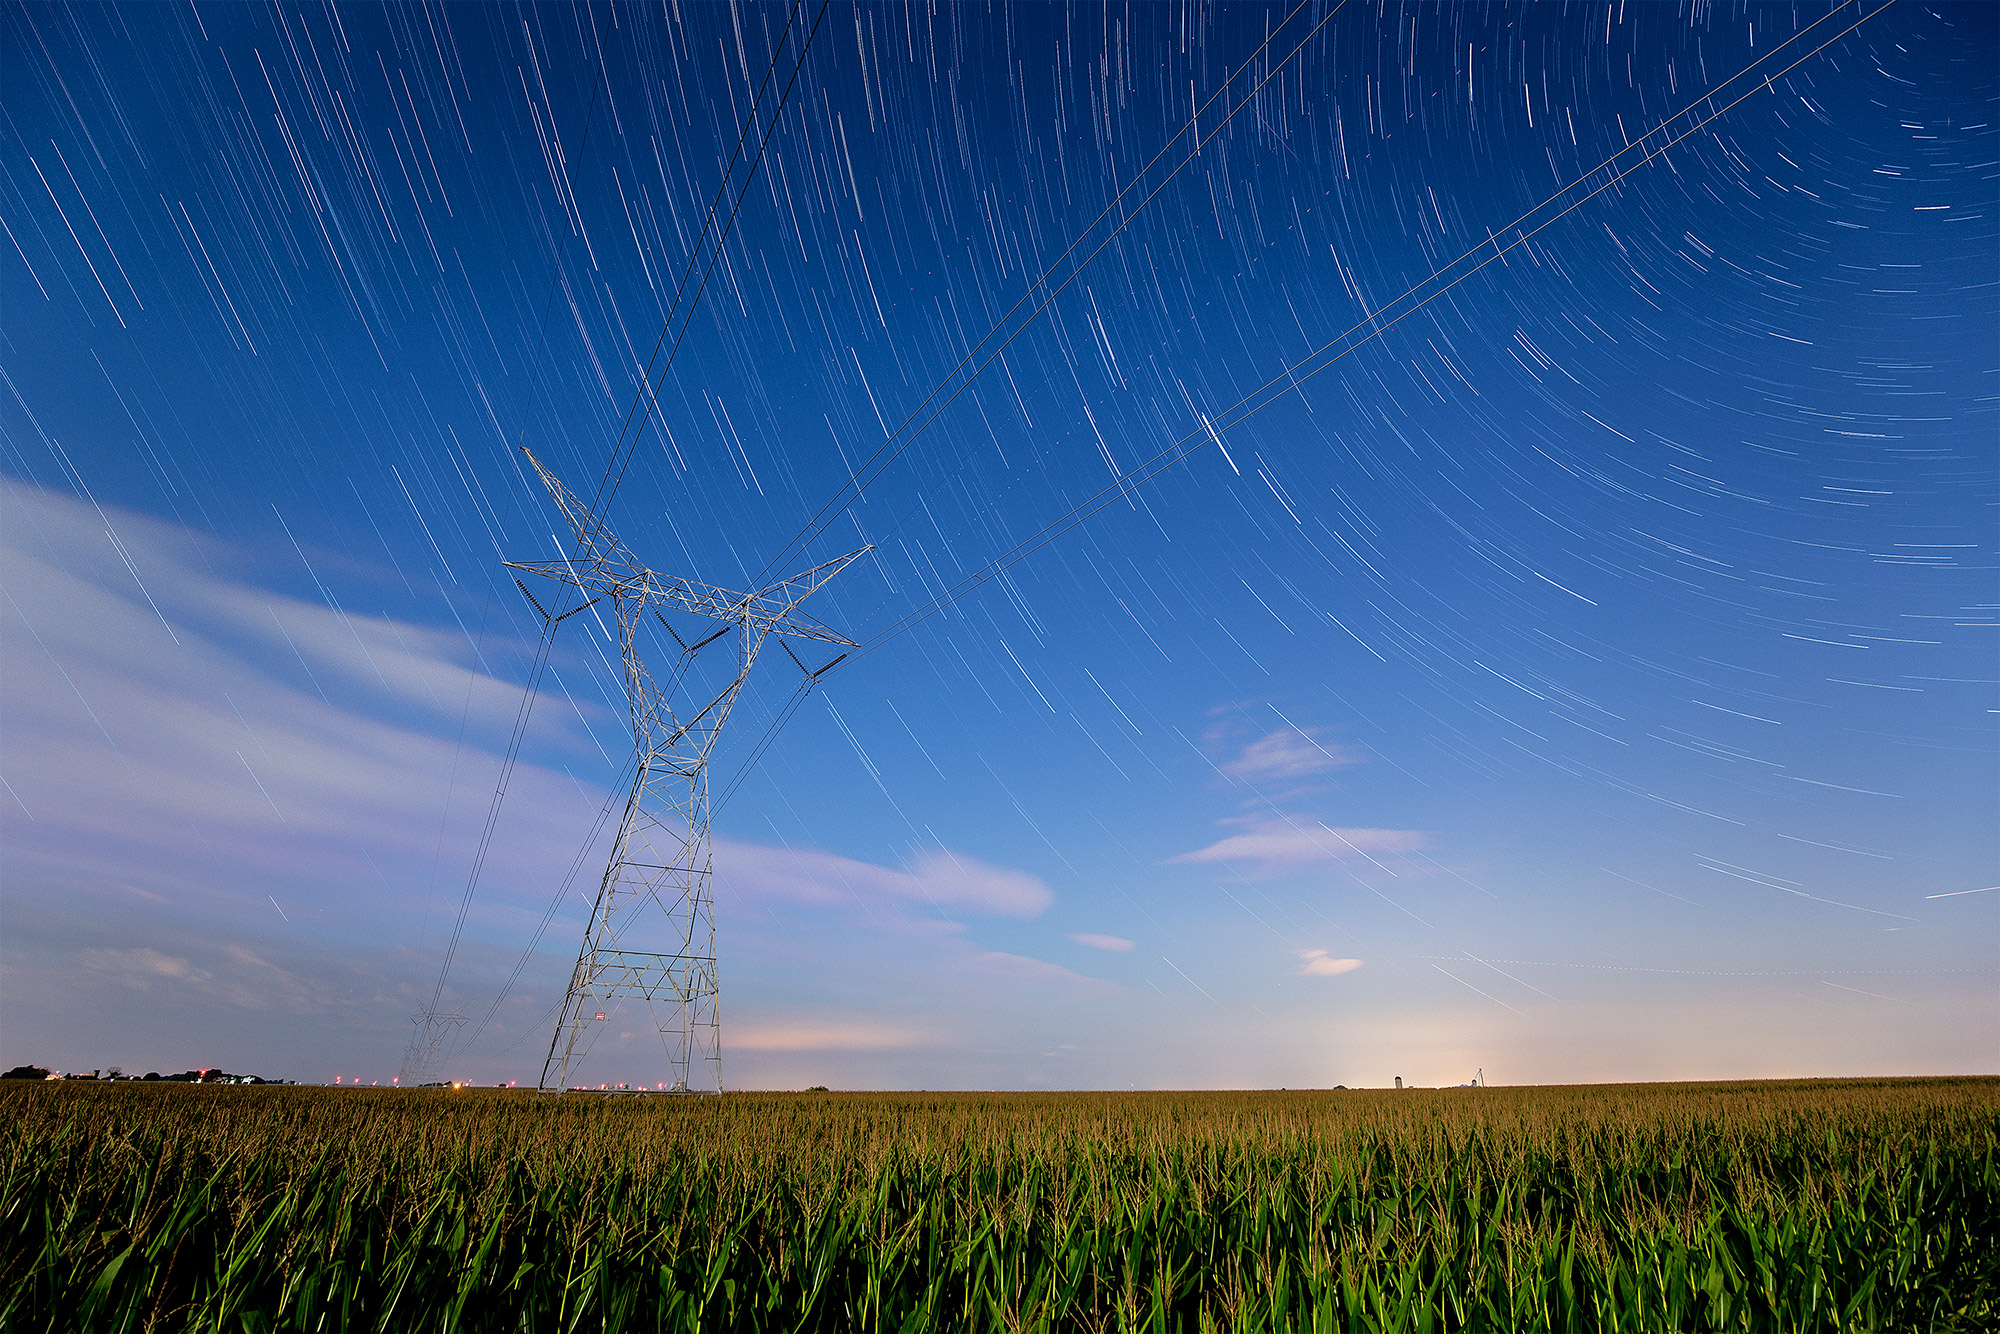
My goal was to wind up with both a good still photograph and a short time-lapse video. Shooting with my Canon 5DMkIII + 16-35mm f/4 IS II, each exposure would be 30 seconds at f/4, ISO500 - anything longer and the stars start to blur in each frame (typically its about 20-25s, but at 16mm you have a little flexibility). Shooting for 90 minutes I would get about 7.5 seconds of video (180 exposures / 24fps = 7.5s). That would be enough for a test run to work out any bugs or something I overlooked. Ideally I was hoping to have the north star Polaris in frame so all of the stars would circle around it. In order to track it I downloaded a free iOS app called Skyview Free which I cannot recommend enough.
Looking at the Light Pollution Map I could see that I was going to have to head out into the farmlands to get dark enough skies to overcome the full moon. I chose a remote one-lane gravel road between two farms with zero traffic to set up camp. Since the corn was about 7ft high I popped the tripod on the top of my car and dialed in the exposure settings. Once everything was setup I took one exposure with the lens cap on so in post I could identify any hot pixels on the sensor, then grabbed a book and let the camera do its work.
A half hour later clouds started rolling in which meant my still frame was going to be much less dramatic than I had hoped for, but with some thunder claps in the other direction I was hoping to get something in the time-lapse, so I let it go for the full 90 minutes. Afterwards I packed up my gear and headed home.
Exposure settings:
Canon EOS 5D MkIII
Canon 16-35 f/4 IS II - IS Off, Manual Focus
Shutter speed 30s - Anything longer and stars start streaking
Aperture f/4
ISO 500 - Due to the full moon this was low, typically its around 2000 or so
White Balance 3000K - If you set it to auto it may shift, then you have to fix it in post.
Long Exposure Noise Reduction Off
Image Preview Off
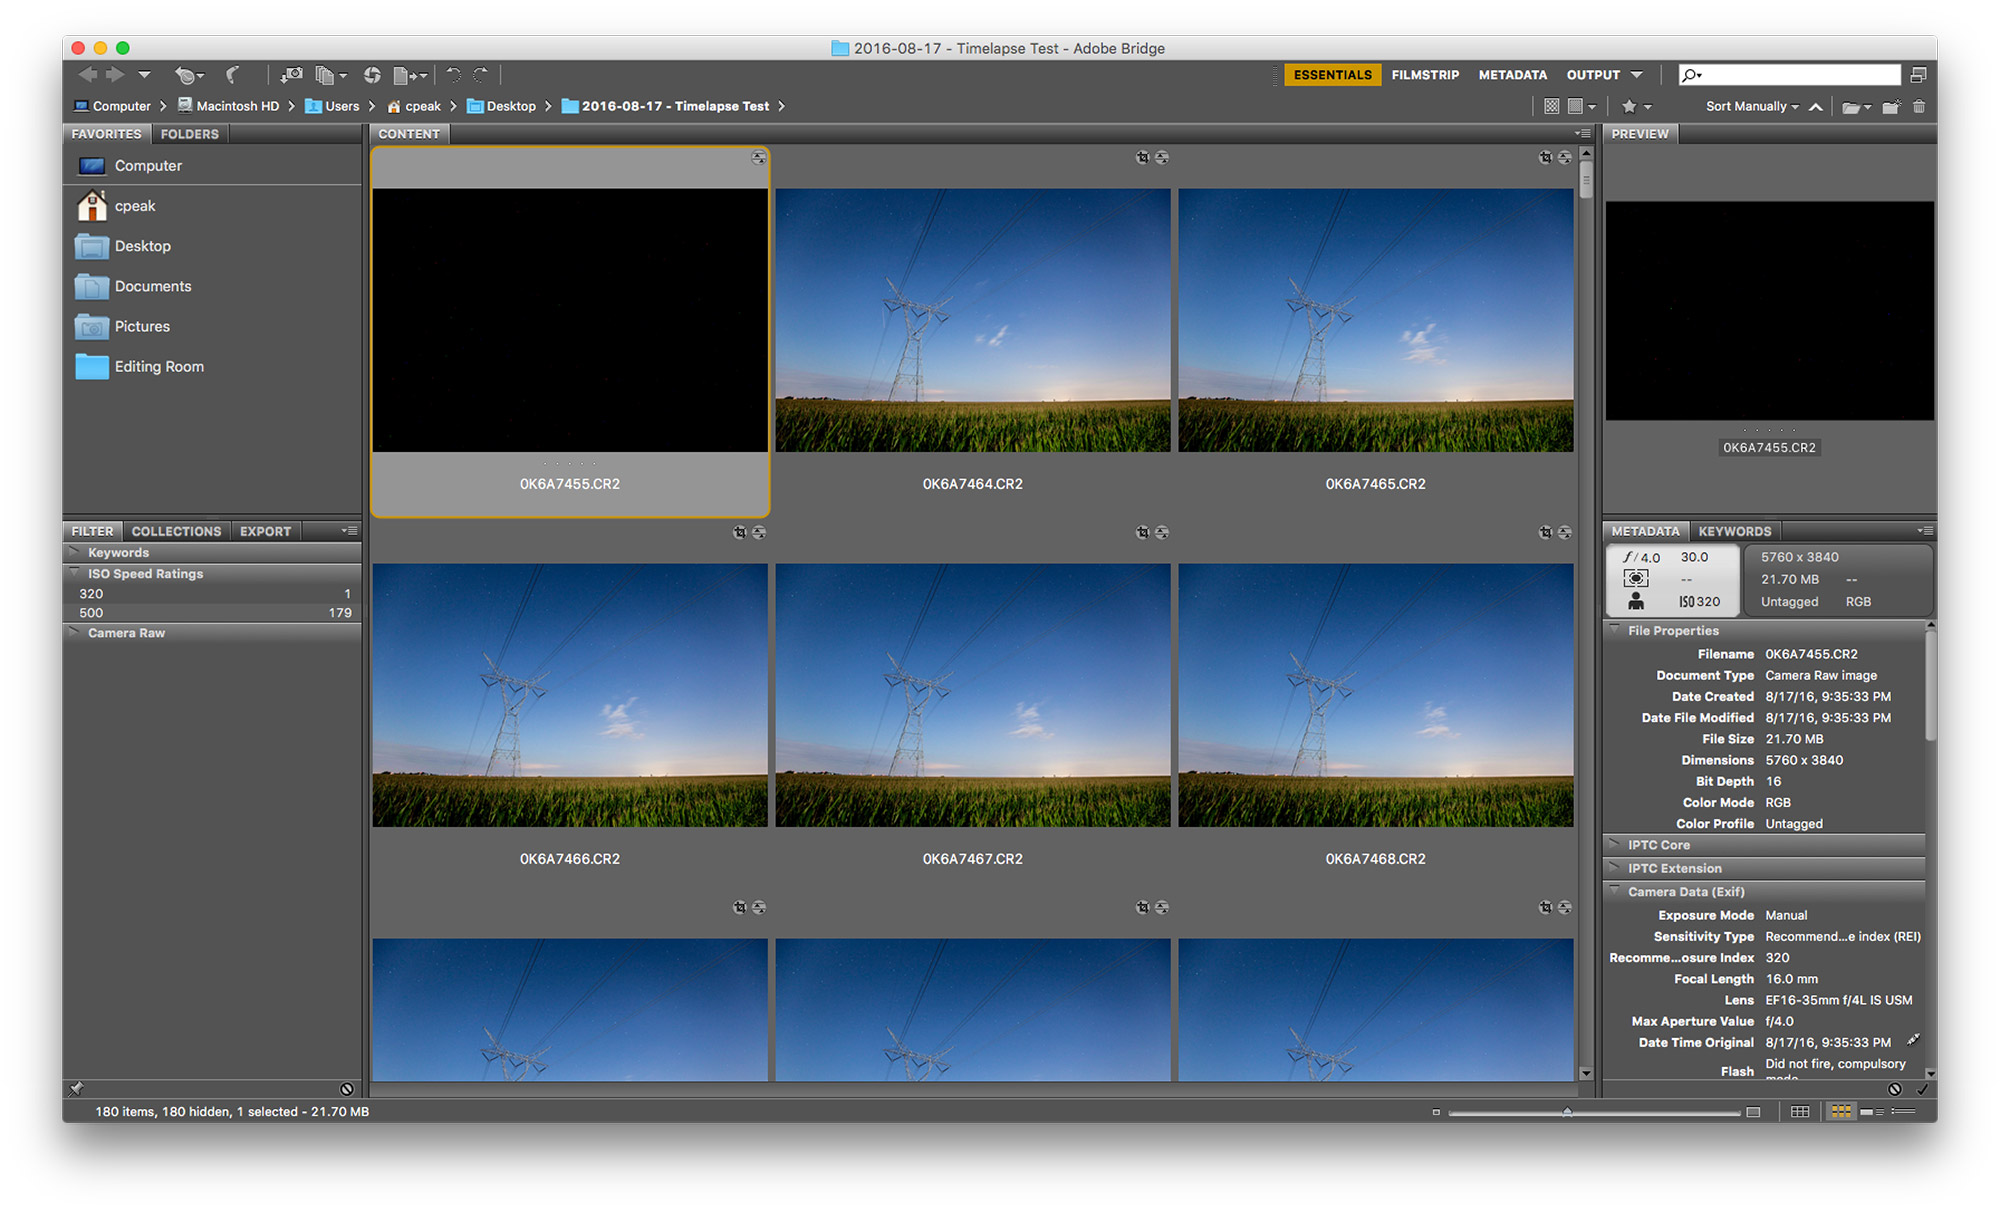
I opened up my first frame and made the final tweaks, then exported the settings to the entire batch* (more on this below). Once I had them all exported with the correct settings I opened up Photoshop and clicked File > Scripts > Load Files into Stack. I found my source images, double checked that they were in the right order, and clicked OK.
It should be noted that for the stack I only selected the first 40 or so images to keep the clouds in the bottom left side of the frame before they overtook everything.

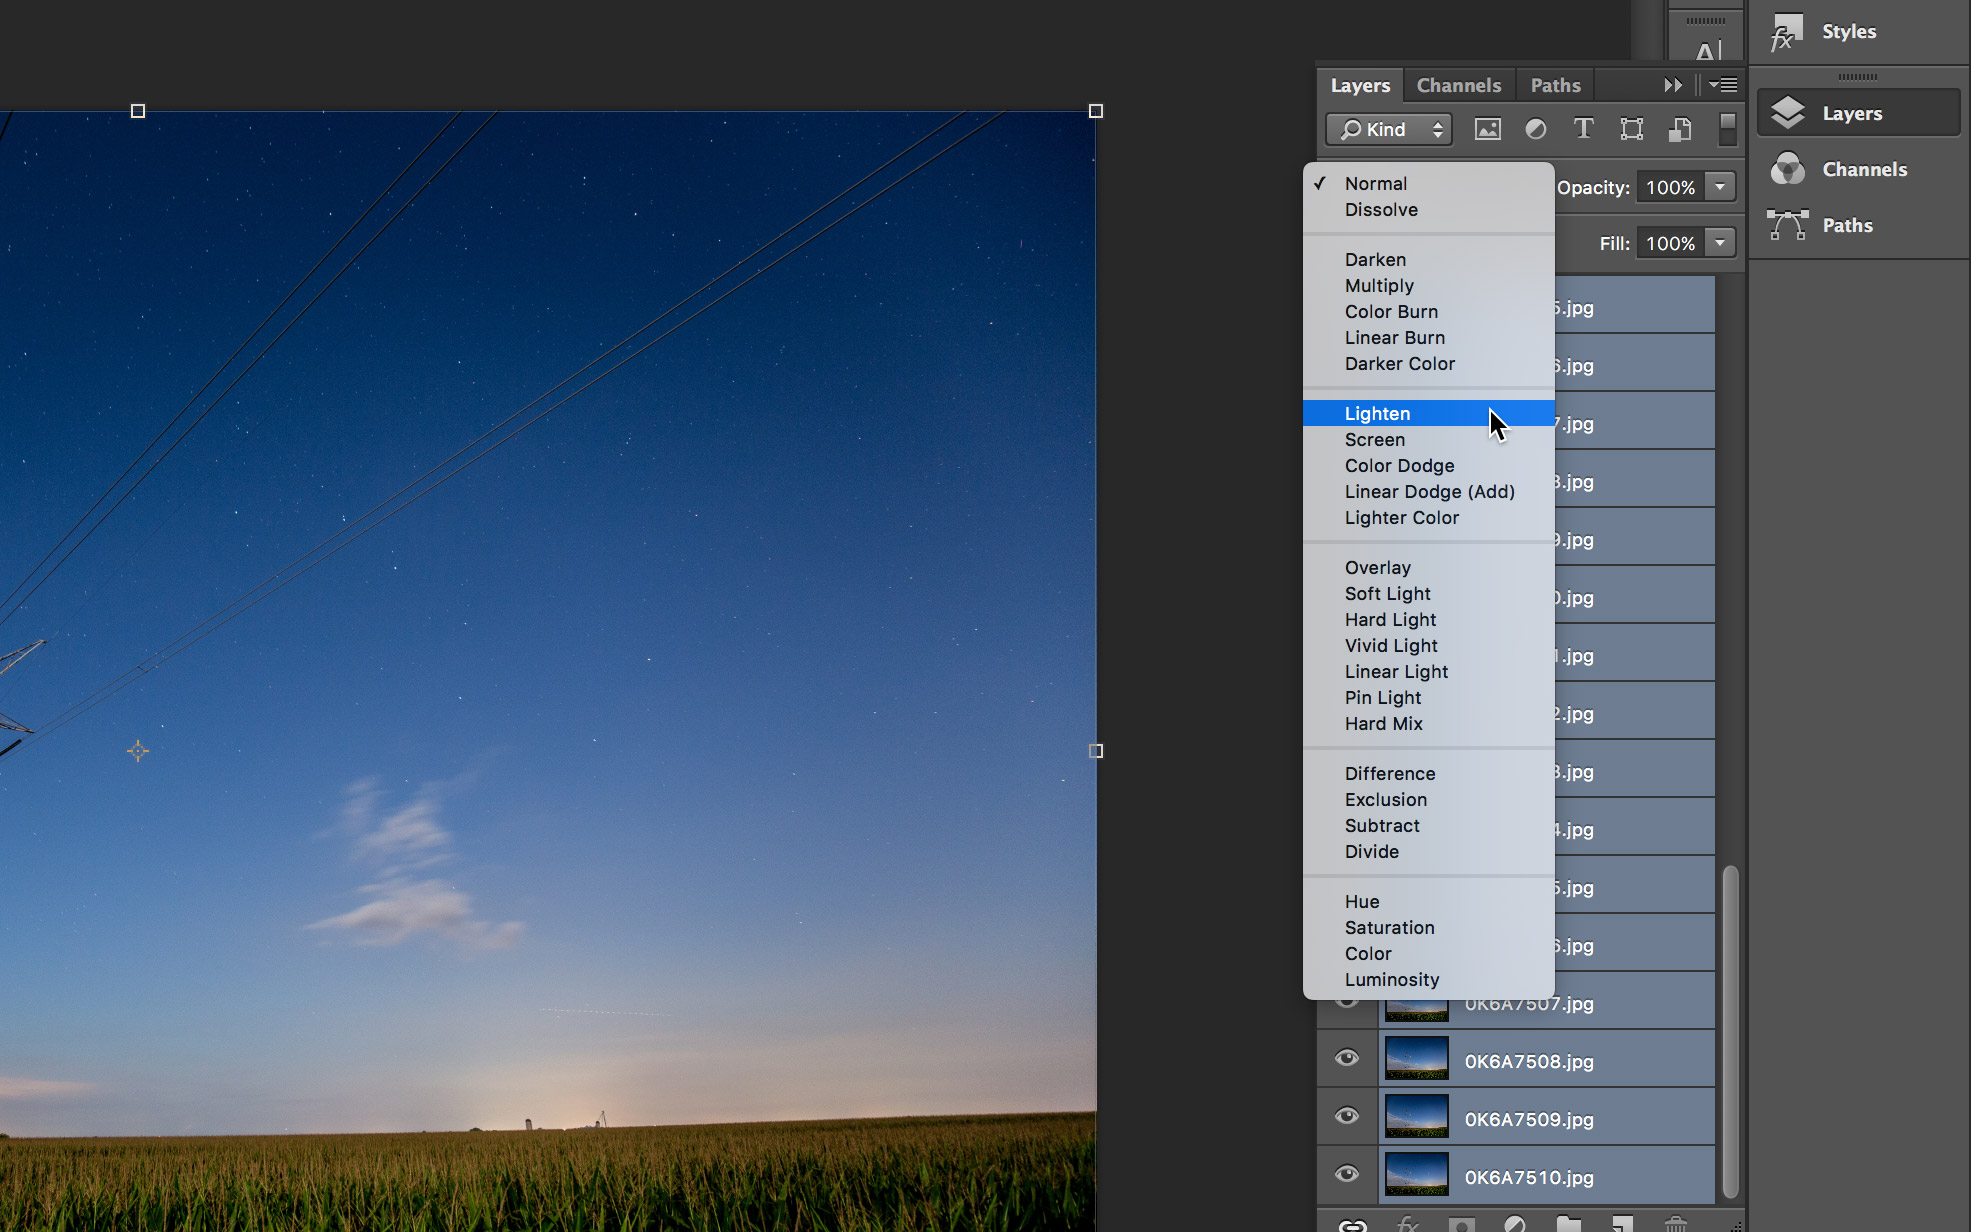
This opens every file as its own layer in a single Photoshop document. Once opened, I selected all the layers and changed the blend mode to Lighten.
While I was delighted to see the stars streaking nicely, to my horror there was a very obvious checkerboard effect over the entirety of the image. It wasn't on any single image, but as soon as I had two layers visible it appeared.
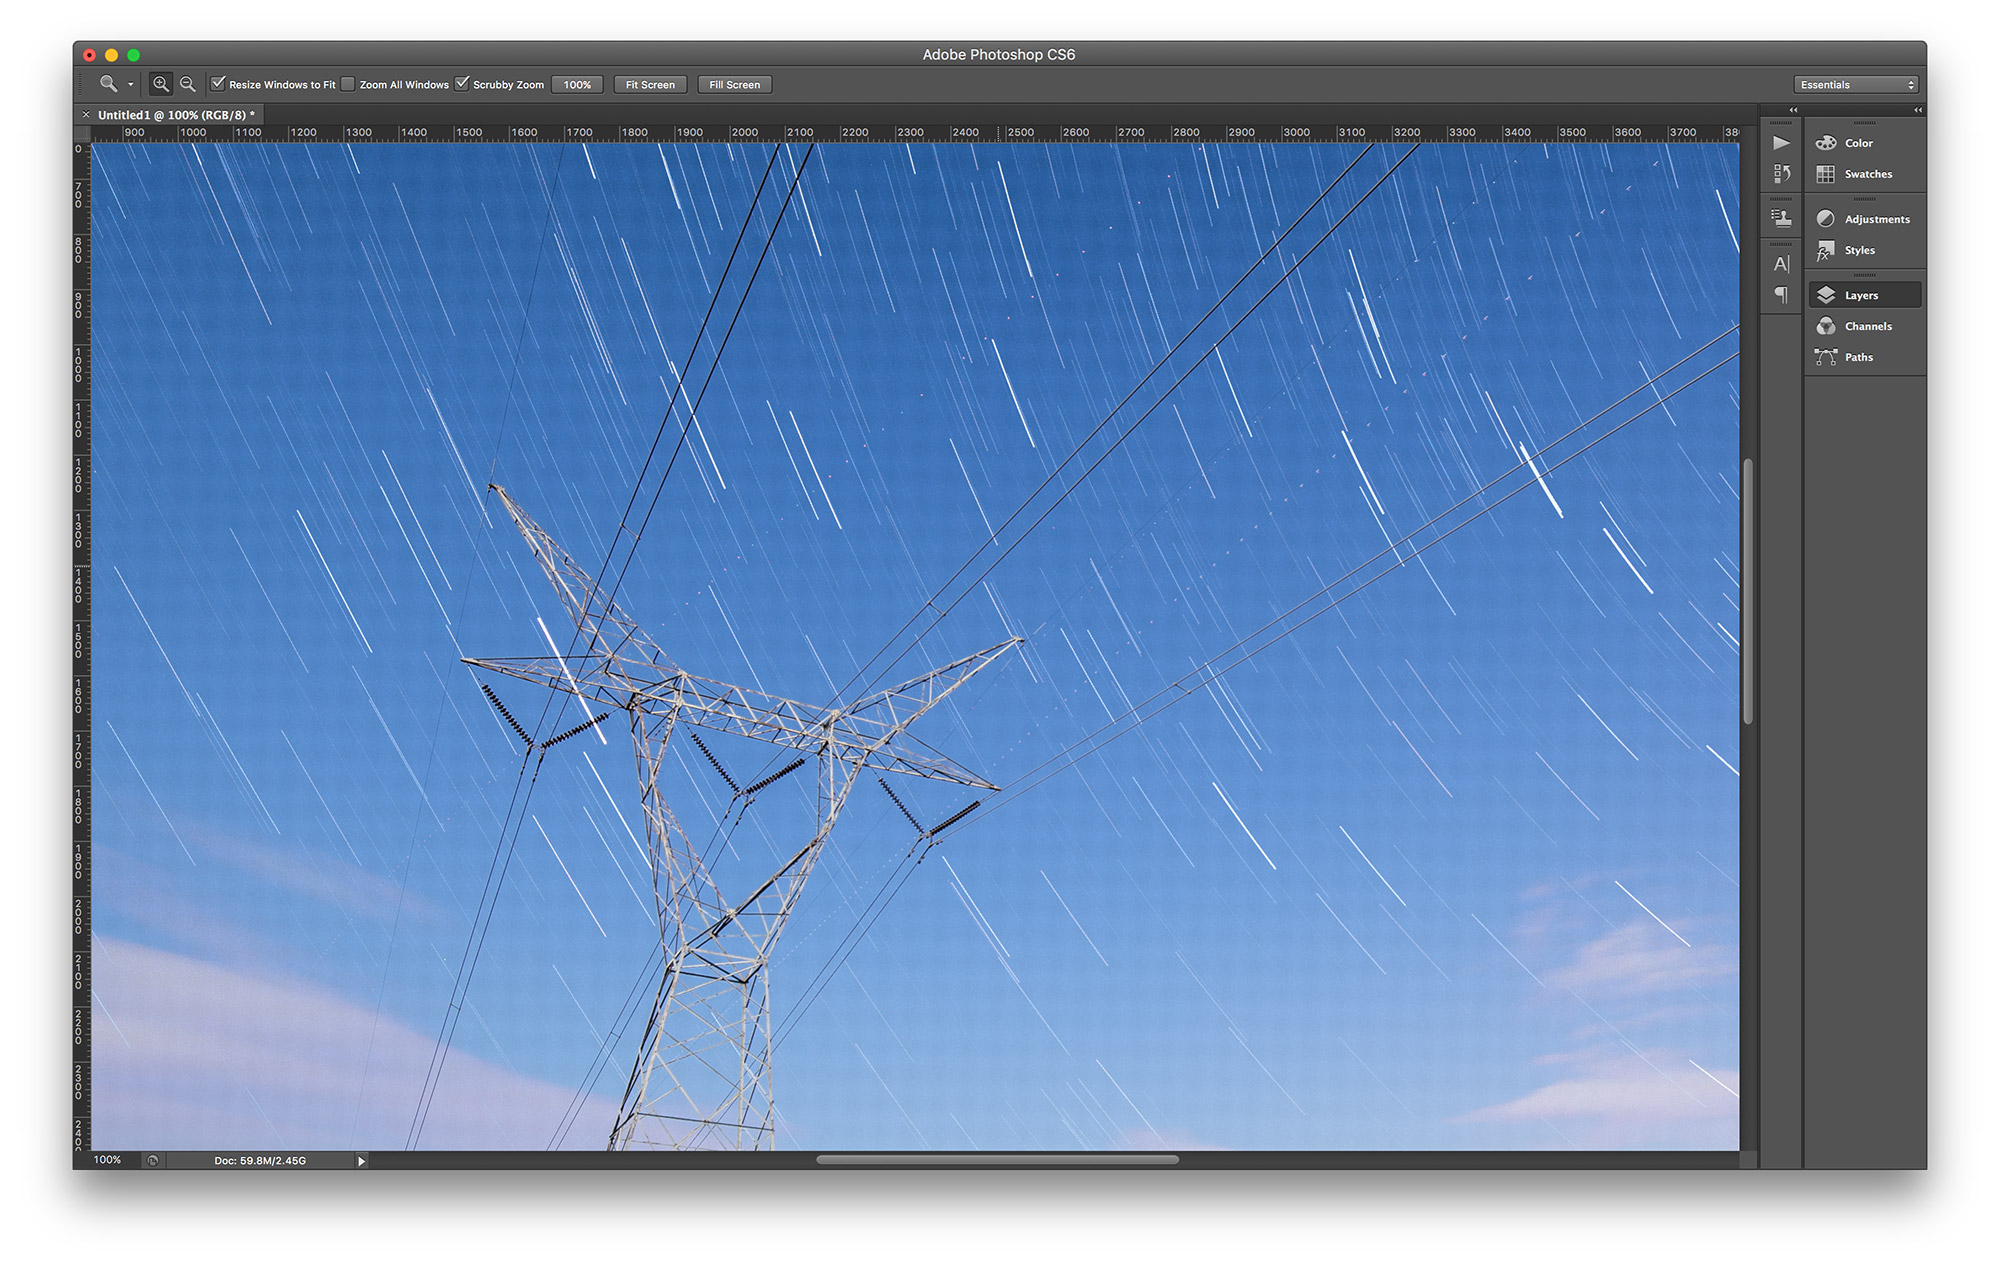
* After some investigation online the effect appears from me applying a crop and slight rotation to each layer during the export process. Each frames adjustment is not pixel perfect which is enough to cause this strange phenomenon. To avoid this do NOT crop or rotate any of the source images before stacking them. Once your image is set and merged down to one layer then you can rotate and crop as needed. Lesson learned.
As I mentioned previously my first and last exposures are with the lens cap on. This is to pickup any 'hot pixels' on the sensor - sometimes individual pixels don't record light correctly and show up as colored spots on the exposure. These would be the same in each frame, so the lens cap shot is my baseline to remove any should they pop up. Thankfully I didn't have any issues, but it is good practice.
Overall I like how the final image turned out. I wish I would have included Polaris in the frame, but that just wasn't possible from my vantage point. Like David duChemin has said, this was merely a 'sketch' of a final image I want to produce at some point. I learned a lot and can't wait for the next new moon in a week or so.
Once I wrapped up work on my still frame I grabbed the entire batch of images and went to turn them into a time-lapse video. Now I have done some in the past, and I swear you could do it right in Quicktime, but I wound up using a free Mac utility called Panolapse The interface is a bit utilitarian but it got the job done. Take a look at the final product.
As you can see the clouds came and covered the entire sky, the flickering on the ground is from when they sporadically covered the moon. I learned a lot and will be much more confident when I go out during the next new moon to capture something really special. Stay tuned and happy star-gazing!